I still remember the very first loaf of gluten-free bread I baked for my wife, Tammy. I had high hopes, a brand-new bag of expensive flour, and a vision of us sitting down to a warm, crusty slice of heaven. Instead, what came out of the oven looked, and felt, remarkably like a paving stone. It was dense, it was heavy, and if I’d dropped it, I’m pretty sure it would have cracked the kitchen tile.
We’ve all been there, haven’t we? That heartbreaking moment when you’ve put in the time, the effort, and the expensive ingredients, only to end up with something that belongs in a museum of ancient artifacts rather than on your dinner table.
Living with Hashimoto’s, celiac disease, or hypothyroidism is already a battle. We fight the fatigue, the brain fog, and the daily “what can I actually eat?” stress. When we try to reclaim a piece of our old life, like a simple piece of toast, and it fails, it can feel like a personal defeat. But I’m here to tell you, fellow warriors, that baking bread is not a lost cause. It’s a journey, and every “brick” you bake is just a lesson leading you closer to that perfect, airy slice.
If you’re feeling overwhelmed by the science of it all, I’ve put together something to take the guesswork out of your entire kitchen routine. Our The 7 Day Inflammatory Kickstart is designed to be your compass in this gluten-free world, moving you from frustration to “I can’t believe this is gluten-free” victories. ↑
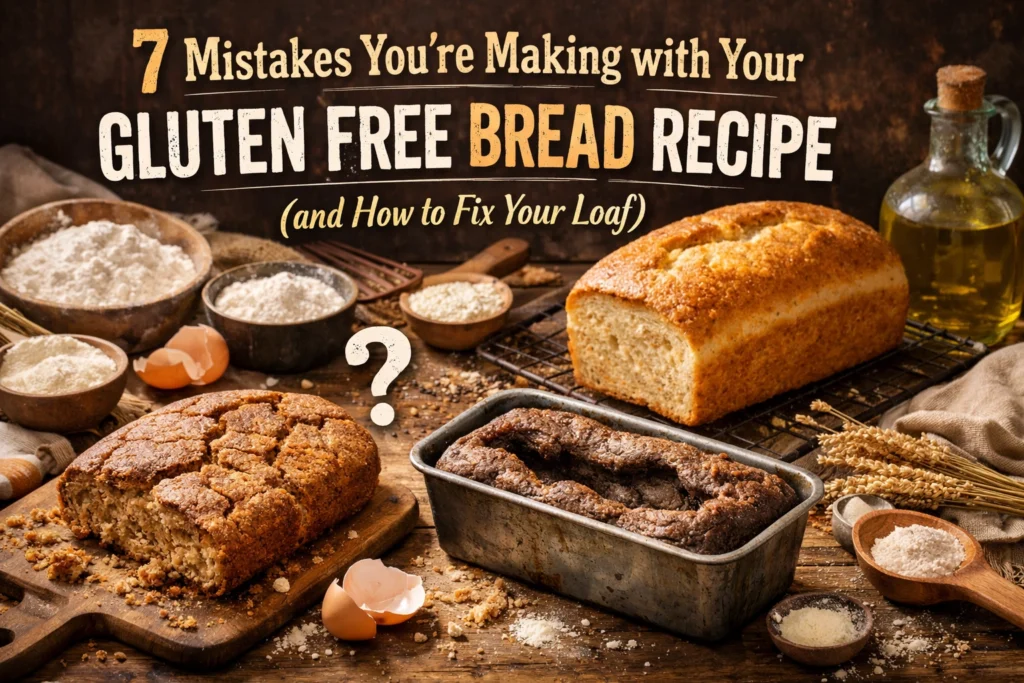
Now, let’s roll up our sleeves and fix those common mistakes that are standing between you and the perfect loaf.
1. Precision is Our Secret Weapon: Measuring by Volume
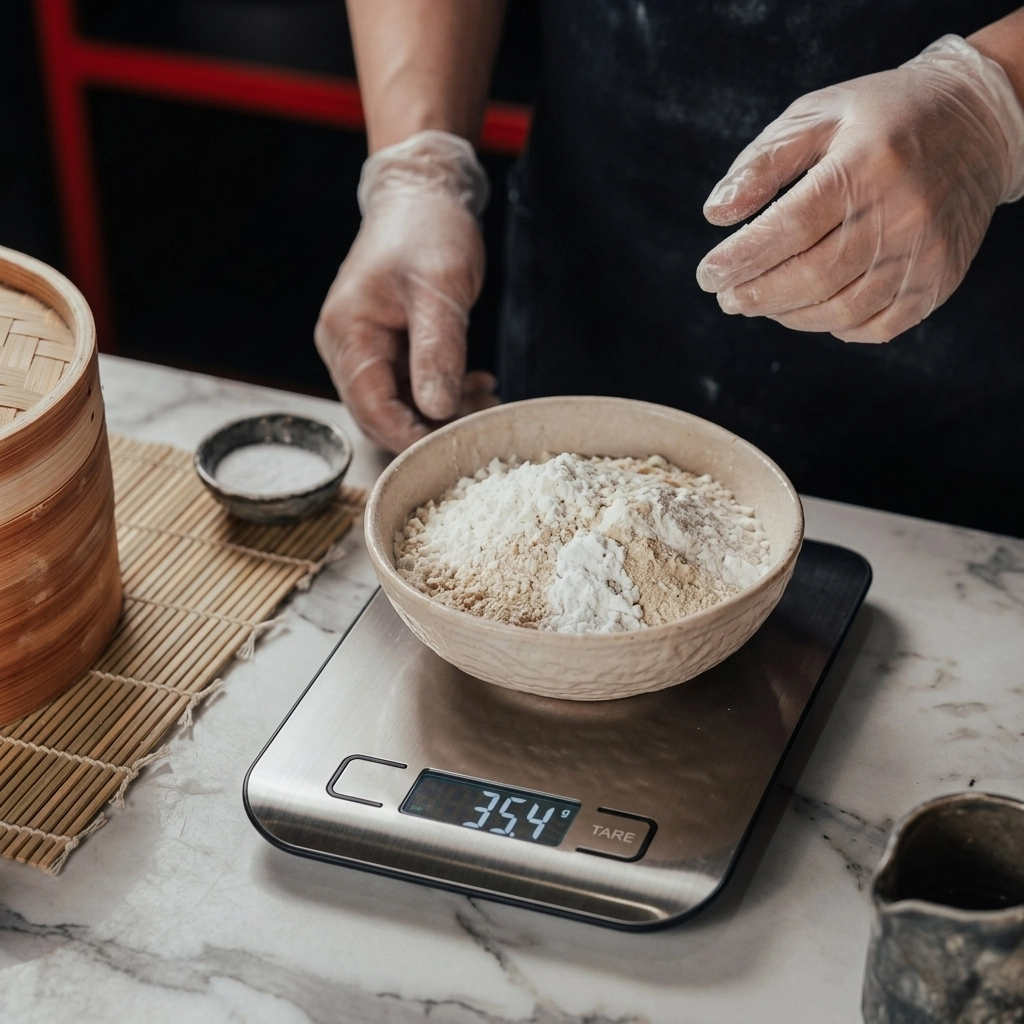
If you are still using measuring cups to scoop your flour, we need to talk. In the world of gluten-free baking, a “cup” of flour is a moving target. Depending on how tightly you pack that cup, you could be adding 20% more flour than the recipe intended. In wheat baking, gluten can sometimes mask these errors. In our world? Too much flour leads to a dry, crumbly mess that falls apart the moment you try to butter it.
The Fix: Invest in a simple digital kitchen scale. We measure in grams, not cups. Grams don’t lie. When a recipe calls for 400g of flour, you get exactly 400g every single time. This consistency is the foundation of your success. If a recipe doesn’t provide weights, it’s a red flag, but as a rule of thumb, one cup of most GF blends is roughly 140-150 grams.
2. The Foundation Matters: Using the Wrong Flour Blend
Not all gluten-free flours are created equal. Some are heavy on starches (like potato and corn starch), while others are packed with protein (like sorghum or almond flour). If your bread is gummy or never seems to rise, your blend might be the culprit.
Many “1-to-1” or “measure-for-measure” blends are designed for cookies and cakes, not the structural demands of yeast bread. Bread needs protein and fiber to mimic the “web” that gluten usually provides.
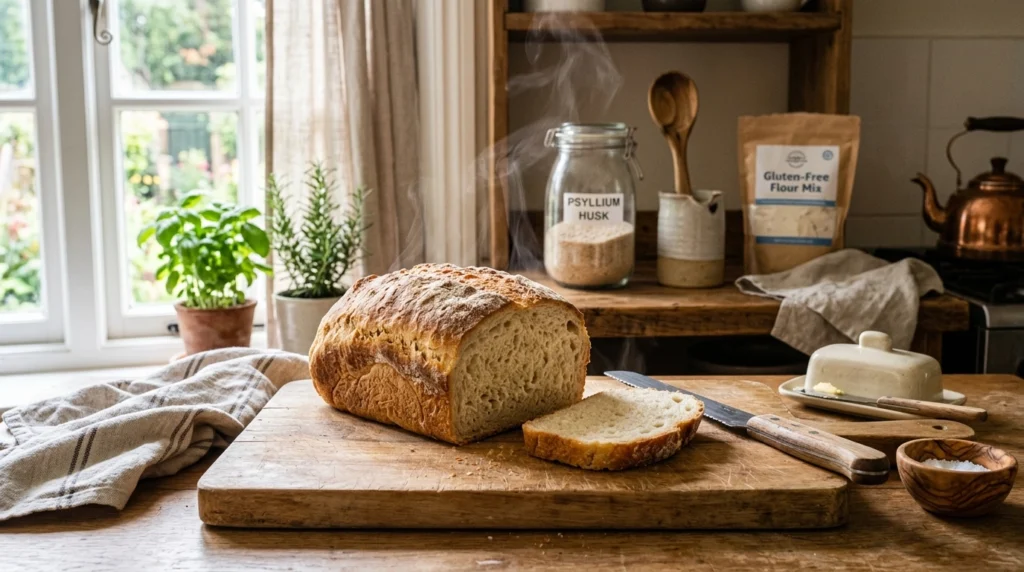
The Fix: Look for blends specifically formulated for bread, or better yet, look for recipes that call for high-protein additions like expanded rice or psyllium husk. If you’re using a store-bought blend like King Arthur or Cup4Cup, make sure it contains Xanthan Gum. If it doesn’t, you’ll need to add it yourself (usually 1 teaspoon per cup of flour) to give the dough the “stretch” it needs to hold onto those air bubbles.
3. Waking Up the Engine: Using Cold or Dead Yeast
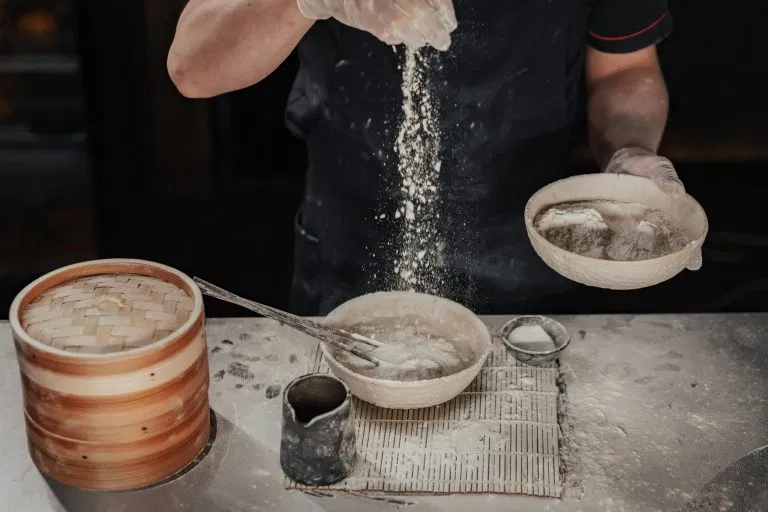
Yeast is a living organism. It’s our partner in this journey, and if it’s not happy, your bread isn’t going anywhere. I’ve seen so many people pull yeast straight from the fridge and toss it into cold water, only to wonder why their dough is sitting there like a lump of clay an hour later.
The Fix: Always “bloom” your yeast first, even if it’s “instant” yeast. Mix it with warm water (ideally between 105°F and 110°F) and a teaspoon of sugar or honey. If it doesn’t get bubbly and frothy within 10 minutes, throw it out. It’s dead, and it will not save your bread. Also, ensure your water isn’t too hot; anything over 120°F will kill the yeast instantly, ending the battle before it even begins.
4. Patience Is a Virtue: Skipping the “Rest & Hydrate” Phase
Gluten-free flours are notoriously thirsty. Rice flour and starches take much longer to absorb liquid than wheat flour does. If you mix your dough and immediately shove it into the oven, you’ll often find the finished product has a “gritty” or “sandy” texture.
The Fix: Give your batter a “rest” period of 20-30 minutes before you let it do its final rise. This allows the flours to fully hydrate. You’ll notice the batter becomes thicker and smoother. This simple step is the secret to a professional-grade crumb that doesn’t feel like sandpaper in your mouth.
5. The Batter vs. Dough Dilemma: Expecting a “Ball”
This is the biggest hurdle for those transitioning from traditional baking. We are used to kneading a firm ball of dough until it’s smooth. If you try to make your gluten-free dough that firm, you’ve already lost. Gluten-free bread dough should look more like a thick cake batter or a very sticky muffin mix.
The Fix: Embrace the “glop.” If the dough is wet enough to stick to your hands, it’s likely just right. That extra moisture is what creates the steam needed for the bread to rise in the absence of gluten. If you’re looking for a recipe that masters this balance, our Rustic Artisan Bread (GF) is a community favorite for a reason, it’s approachable and yields a beautiful crust every time. ↑
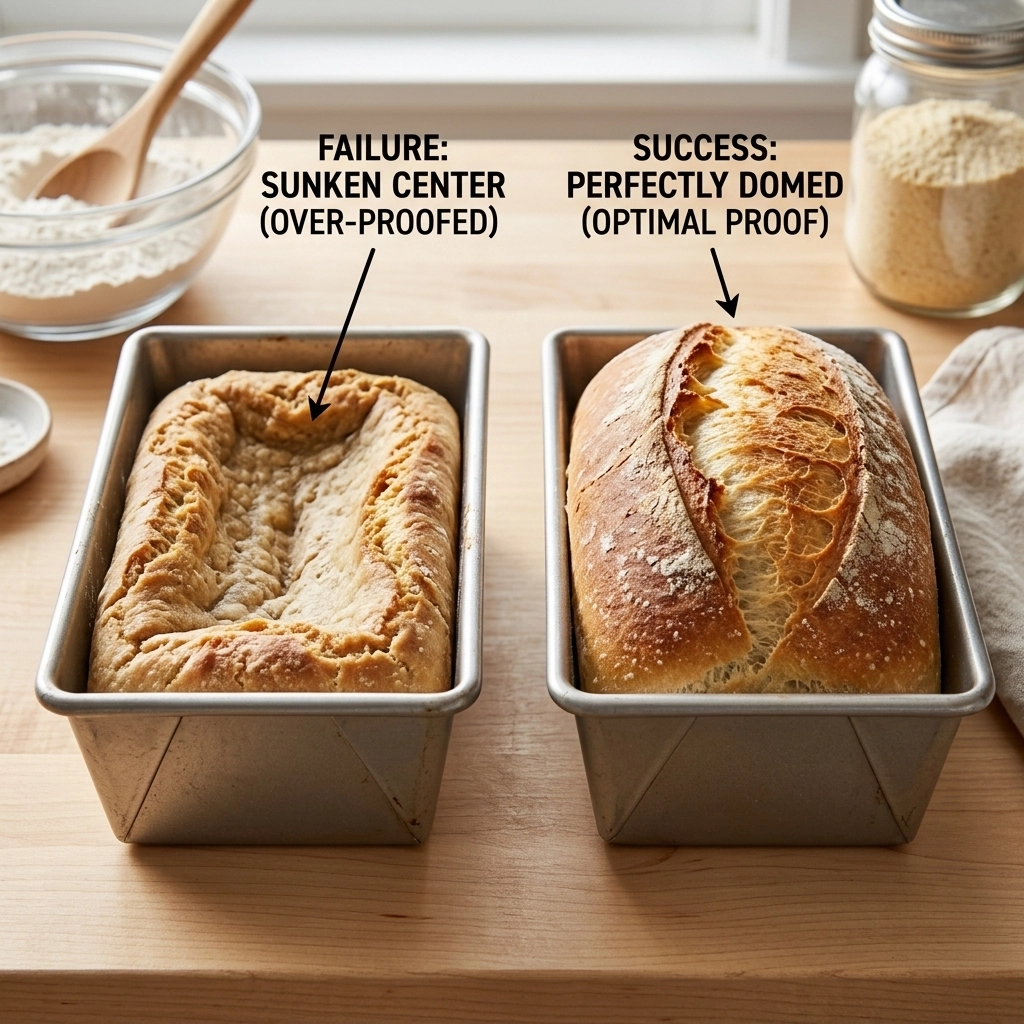
6. Knowing When to Stop: The Over-Proofing Trap
We often think that if a little rise is good, a lot of rise is better. We wait for that dough to tower over the top of the pan, thinking we’re going to get a massive loaf. But without gluten to hold that structure, a loaf that rises too high will eventually “pop” like a balloon and sink in the middle during baking.
The Fix: Most gluten-free breads only need one rise. Unlike wheat bread, we don’t punch it down and rise it again. Let it rise until it is just level with the top of your baking tin (or about double in size for a boule). As soon as it hits that mark, get it into the preheated oven. This ensures it has enough “oomph” left for that final “oven spring.”
7. The Final Stand: Under-Baking and Cutting Too Soon
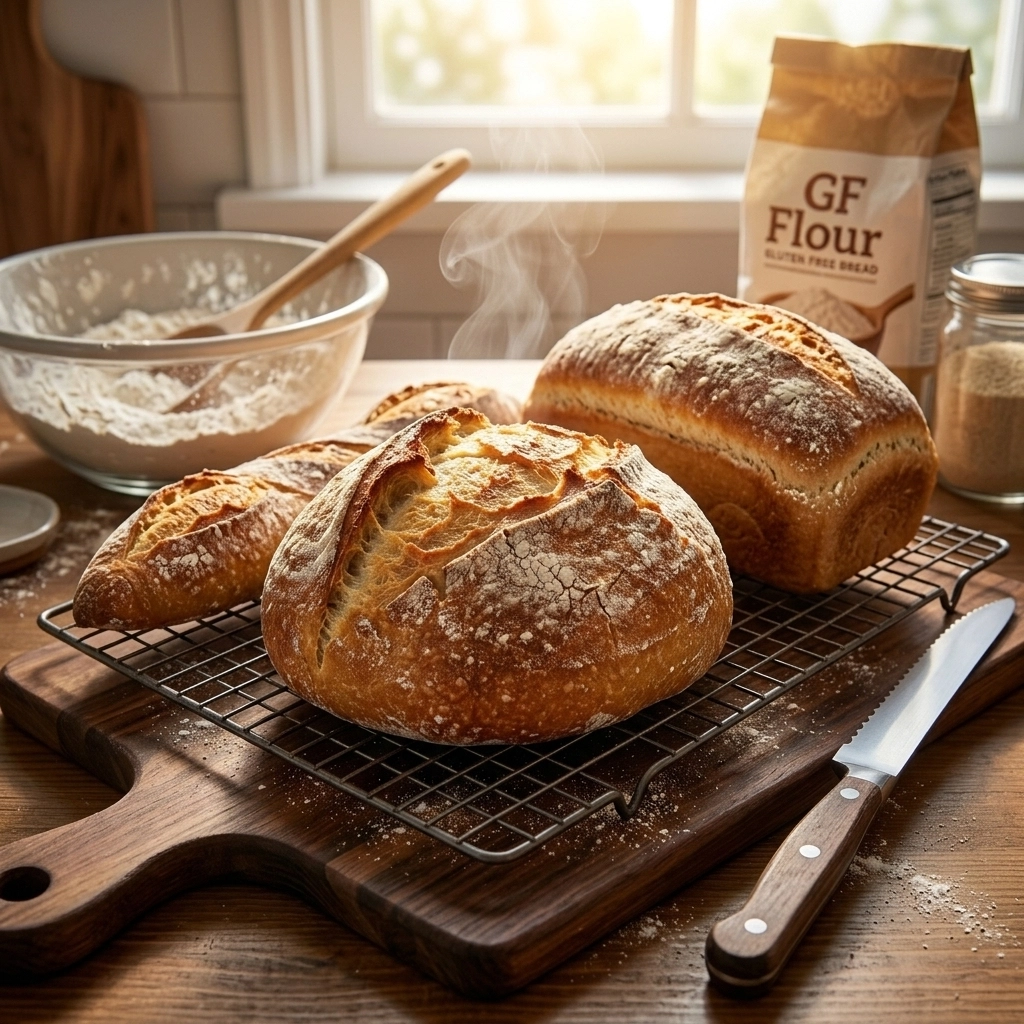
You’ve done it. The house smells amazing. You pull the loaf out, it looks golden, and you can’t wait to slather a slice in butter. Stop! If you cut into gluten-free bread while it’s still hot, the steam that is still trapped inside will turn the crumb into a gummy, sticky mess instantly.
The Fix: Gluten-free bread needs to bake longer than you think. Use an instant-read thermometer; the internal temperature should reach 205°F to 210°F. Once it’s out, you must let it cool completely on a wire rack, usually at least 2 to 3 hours. This is the hardest part of the journey, but it’s the final step to ensuring that perfect texture.
Love Is in the Details
Baking is an act of love, for yourself, for your health, and for your family. When I bake for Tammy, I’m not just making food; I’m telling her that her health matters and that she doesn’t have to miss out on the simple joys of life.
Don’t let a few failed loaves discourage you. You are a warrior, and every kitchen “disaster” is just data for your next success. If you want to dive deeper into how we manage this lifestyle, from reading labels to managing the emotional side of an autoimmune diagnosis, come join our community.
Click here to grab Your Guide To A Safe Gluten Free Kitchen and let’s turn your kitchen into a safe place of healing and help you create your delicious discoveries. ↑
Tried & Tested
We want you to know that everything we share here at The Wandering Quill comes straight from our own kitchen. These aren’t just theories; they are the lessons we’ve learned the hard way while making meals for our own family. We personally test every tip and recipe so that when you have a question, we can answer it honestly from experience.
Medical Disclaimer: We are sharing our lived gluten-free experience and the knowledge we’ve gathered on our personal health journey. However, we are not doctors or certified nutritionists. Please do your own research and consult with a healthcare professional before making significant changes to your diet or lifestyle.
If you have any questions we’d love to here from you, Contact Us Here
We have many blogs and other resources for you check out that will help put your mind at ease about any questions you may have. Especially the 100 Gluten Free Facts, questions and answers you probably never thought of.
Check out the links here:
: Martin & Tammy